HubSpot
 Hubspot Marketing
How to create and send an email marketing campaign using Hubspot. This help page is designed to assist you to send marketing email using a HubSpot account which is currently free for up to 2000 emails per month.
1. Log in (or create a new account) at the HubSpot login at hubspot.com or open the HubSpot app on your smart device.
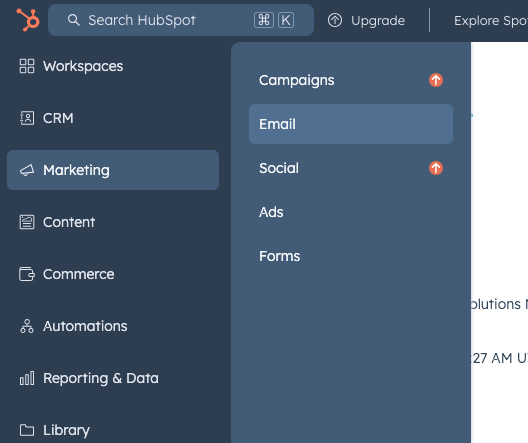
2. From the menu bar select Marketing > Email.
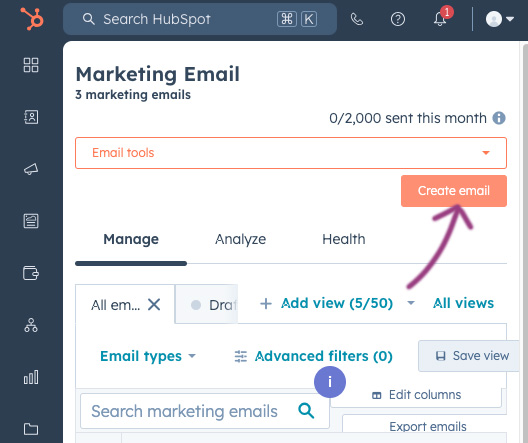
3. Select the 'Create email' button.
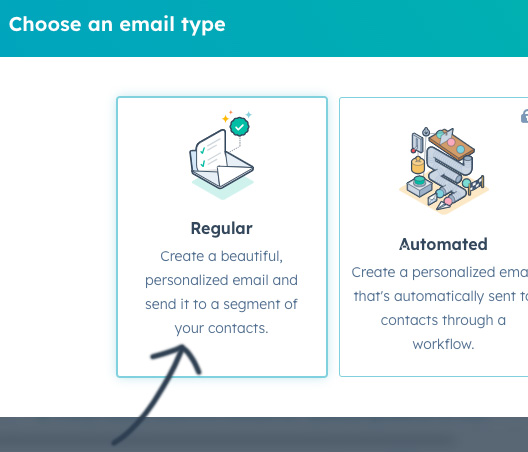
3. For Choose an email type, select the 'Regular' button.
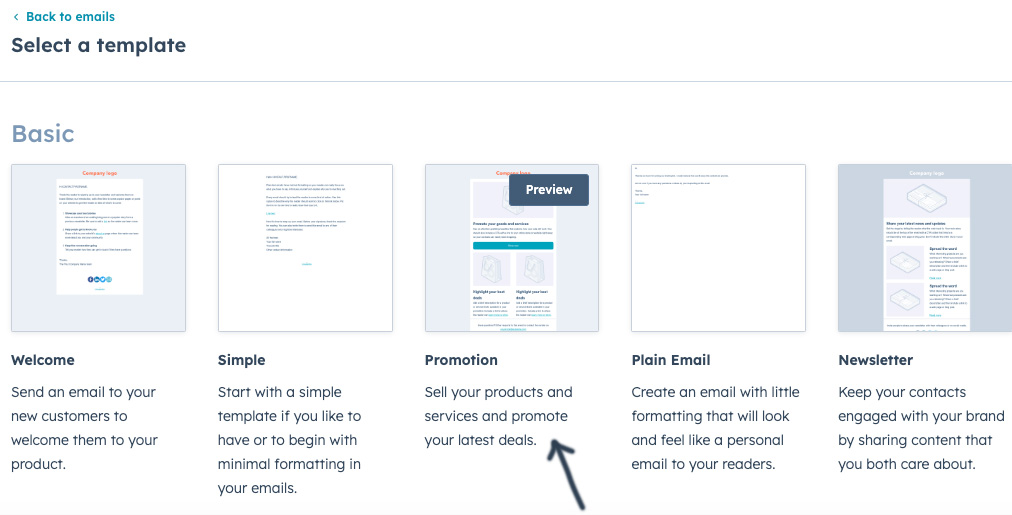
4. There are a range of default styles and perhaps you wish to send a "Welcome" email, a "Newsletter" style or a very simple style but choose 'Promotion' for a true marketing email.
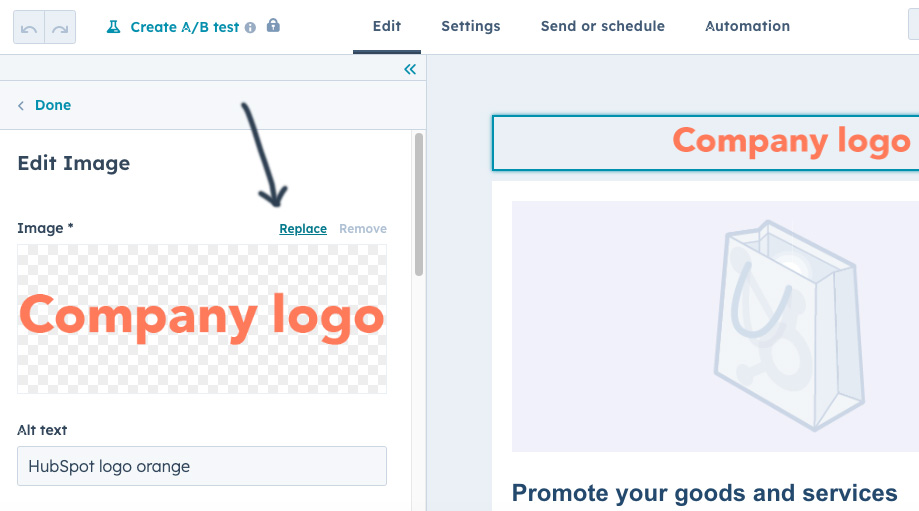
5. Select the pen 'edit' icon alongside Company Logo and then select 'Replace' on the left hand panel to choose an exiting logo or upload a new logo.
Once selected, I suggest you override and adjust the size; width and height and left, right or center orientation to suit your logo.
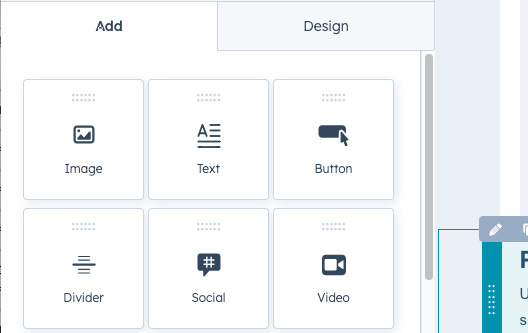
6. To add an 'Image', 'Text' block, call to action 'Button', 'Divider', 'Social' button links to your social media or a 'Video' simply drag an element from the box on the left to the position you want in the email.
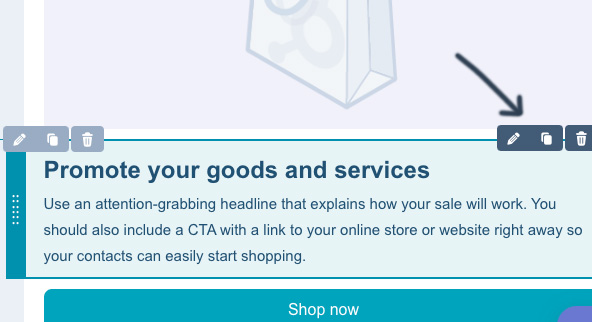
7. Use the pen icon to edit any element, press and drag to rearrange elements and use the bin icon to remove an unwanted element.
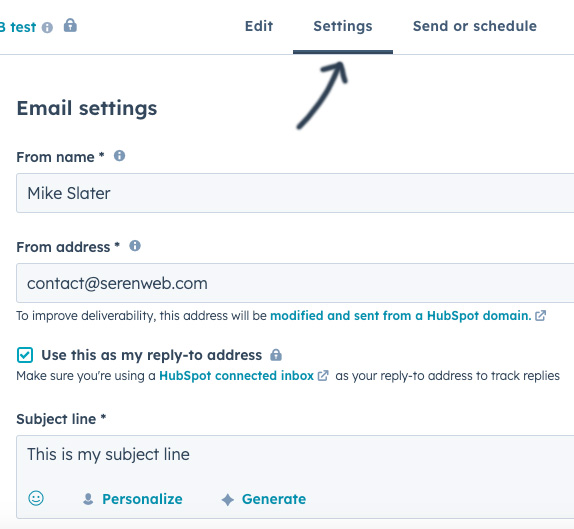
8. Use the 'Settings' link to set your email, display name, subject line and preview text for your emails.
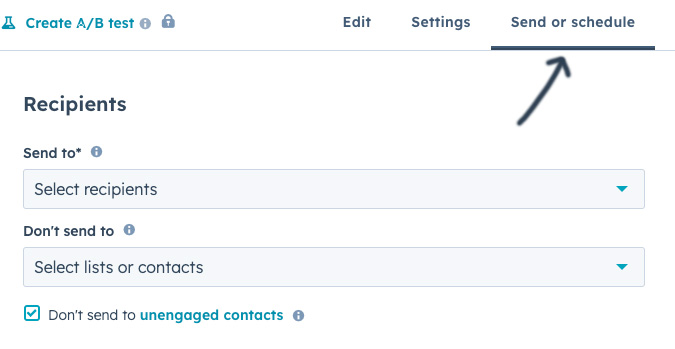
9. Use the 'Send or schedule' link to select the recipients for your email from the contacts you have added to HubSpot. You can also choose to exclude some recipients from your contact lists here too.
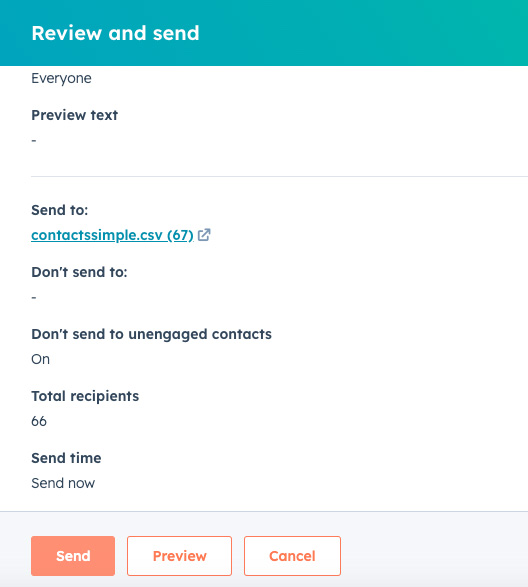
9. Finally, select the 'Review and Send' orange button upper right, make sure all is looking good and click 'Send'.
If you require any technical support please contact Seren Web.

